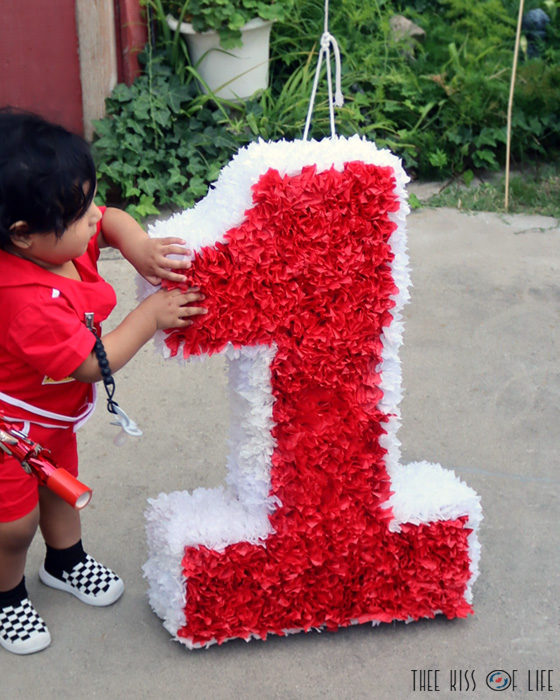
To make your own piñata you can use cardboard or foam board works too. You can paper mache with newspaper or not. It really depends on how much of a challenge you'd like it be. If you're having mostly younger kids at the party you probably don't want it to be too hard for them to break open.
Since this piñata is for my son's first birthday, it's mostly just for show (totally doubles as decor too, make it coordinate). I know he's not going to break it open and if he does well wow. So yeah I only paper mached the bottom. I used a box of diapers so I was able to use one of the built in handles for the opening needed to put the candy inside. I added a rope handle and reinforced the top part with double cardboard. I didn't have masking tape but I used this brown tape I had to put it altogether. I'm pretty sure you can use any kind of tape. You can also use hot glue. I hot glued the handle and top area. For a piñata stick I covered a 24" PVC pipe in metallic foil fringe (you can see a tiny bit of it in the first pic).
Now, of course I like to make things harder than they need to be so for the tissue paper I chose this laborious style. I found this video tutorial by Van TopSecret. It's for a standee but works for this especially if you want a bigger sized piñata like I did.
I was only going to use the video for the measurements but ended up really liking the look of the tissue paper. They only did the front. I did the whole thing because a piñata is seen from all angles. I regretted it like a quarter of the way through but in the end I do like the result very much. Mine was less rolled up tissue and more like little paper explosions. I don't know I thought it went with the vintage race car theme we were doing. If you want to be the most frugal with this definitely stick with using crepe paper streamers, cutting it into fringe and gluing on in rows. I imagine that's super quick and less glue, less cost.
These are the measurements I used from the video. My piñata ended up being about 26" tall.